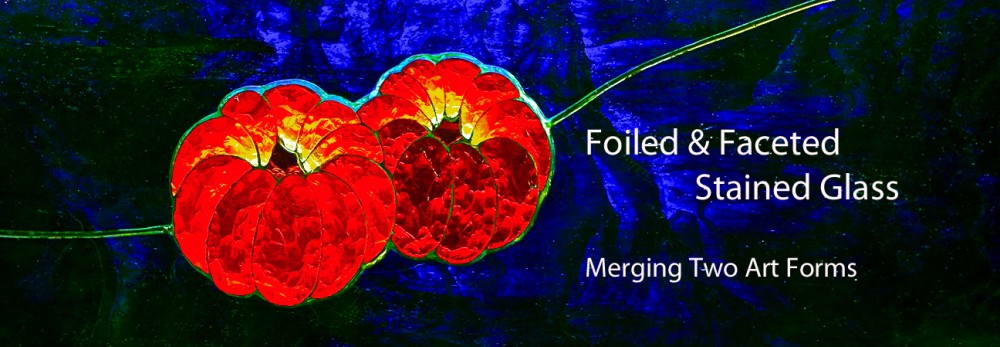
I think that the most effective way to illustrate how I combine faceted and foiled glass is to go through the process of constructing a panel. I am assuming throughout this site that the audience has some and possibly extensive experience in working with foiled glass so I will focus primarily on the management of faceted glass. For anyone unfamiliar with the processes involved in the construction of a foiled panel there are extensive educational materials available on the web but I suggest that Art of Stained Glass and Plenty of Patterns would be two worthwhile sites to begin your exploration.
The first step, as in almost all stained glass projects, is to settle on a design from which a cartoon is made. The cartoon will then serve as the template for the remainder of the process. At the same time the design is being finalized it is necessary to select the glass to be included in the project, some issues to be considered are discussed in the post on Color and Choice of dalle.
I have several suggestions regarding your initial project:
1. Start with a fairly small panel ( +/- 18″ X 15″ or less ) since it will require less work, it is easier to manipulate the smaller pieces and it will take less time until you see the results of your effort.
2. I would use the faceted glass quite sparingly since I have found that it, in the finished work, often appears to be more massive and prominent than you might expect from simply looking at the cartoon. I therefore suggest that you have the faceted glass occupy not more than 10 to 12% of the surface area of the panel. Once you become more comfortable with it, you can certainly increase the percent used in your work.
3. I would start with a fairly simple design using not more that 4 or 5 pieces of faceted glass mostly for the reasons noted in suggestion #1.

This is the cartoon for the panel of an amaryllis flower ( 11″ X 13 5/8″ ) that I will construct which is composed of 6 pieces of faceted glass so numbered in the cartoon. The orange at the base of three of the petals relates to a color change in the glass that I will use to help create a three dimensional effect, discussed in the post on the 3 D effect.
If you plan to incorporate faceted glass into large panels it is important to consider the need for reinforcement. If reinforcement, discussed in the post on Final assembly, is deemed appropriate its placement should be considered when planning the lead lines.
I try to employ as few lead lines as possible. When feasible, I use a traditional glass cutter for most of my work, the use of which I will not explore in detail in this this section since there is extensive educational material available on the web, two useful sites are noted earlier in this post. I would like to mention that it is important to always check the freshly cut edge of the glass for small ledges which can be very sharp. They more commonly occur when working with some of the harder more difficult to cut art sheet glass. An example of such a ledge is shown in the following photograph.

These ledges are easily removed by running a Scythe stone along the edge. It is an inexpensive sharpening stone 10″ X 1 1/4″ X 1″ available in many hardware and glass supply stores.
 One technique that I have found to be quite helpful in reducing the number of lead lines is to use a ring saw ( Gemini Taurus 3 ) to cut some sections of the sheet glass ( the area around petals #2 and #4 in the cartoon). If the apex of the petal is shaped as a curve in the background glass, ( as shown ) rather than the acute angle of the petal tip, the glass is less likely to crack and it is also easier to apply the copper foil. A curve rather than a acute angle will cause the lead line in this area to be a bit wider but it is barely noticeable against the faceted glass and a small price to pay to eliminate a distracting lead line. Some more skilled that I with a traditional glass cutter may may be able to accomplish this but I find a ring saw and a grinder to be indispensable. The image below shows a cut made by the ring saw in the background glass to allow for the placement of petal #4.

This process is also illustrated in the following video: